Temporary Fence Installation Guide – Quick & Simple
Temporary Fence Installation Guide – Quick & Simple
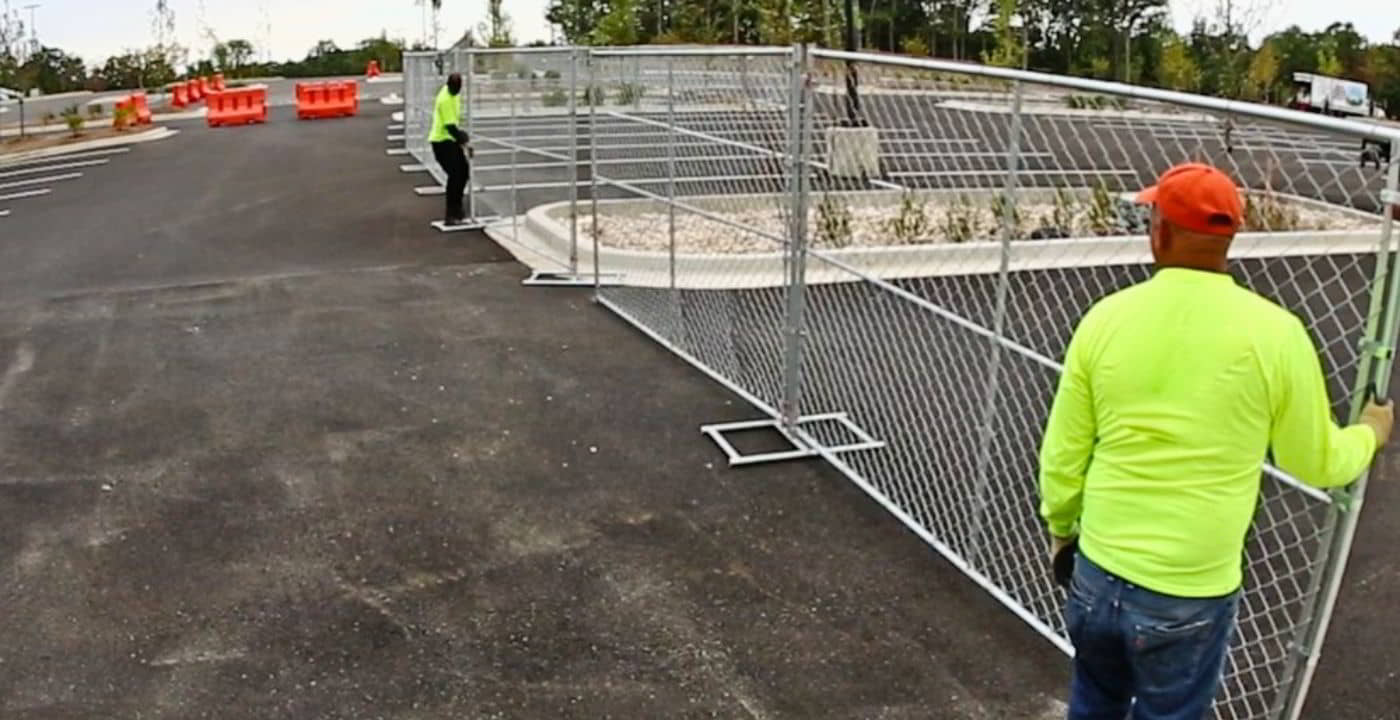
Are you ready to tackle your temporary fencing project with ease? From prepping the site to securing panels, we’ll walk you through each step to ensure a smooth installation process. Plus, we’ve included essential tips to keep you safe and maintain your fence for optimal performance. Let’s make temporary fencing a breeze!
Key Notes
- Pre-Installation Preparation: Clear the site, mark boundaries, and check legal requirements to ensure a smooth setup.
- Installation Process: Start with corner posts, attach panels, check for stability, and follow safety guidelines throughout.
- Materials and Tools Needed: Gather fence panels, posts, clamps, a post driver, level, and measuring tape before installation.
- Maintenance and Removal: Regular inspections, cleaning, and safe removal practices ensure longevity and safety.
Pre-Installation Preparation
Before you begin installing the temporary fence, it’s important to prepare the installation site properly. Here are some key steps to follow:
Clear the area
Remove any debris or obstacles from the installation site to ensure a clean and unobstructed space for the fence.
Check legal and regulatory requirements
Depending on your location and the purpose of the fence, you may need to obtain permits or adhere to specific regulations. It’s essential to research and comply with any legal obligations before proceeding with the installation.
By taking these preparatory steps, you’ll ensure a smooth and efficient installation process, setting the stage for a successful temporary fence.
Installation Process
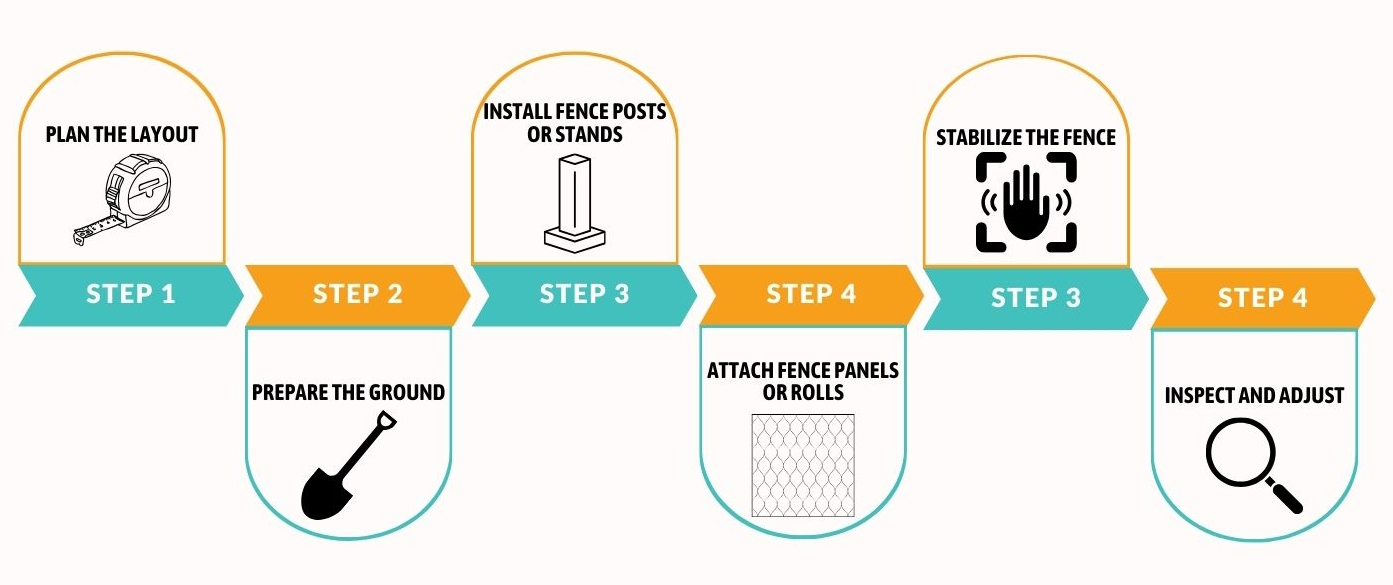
Follow these steps for a successful installation of your temporary fence, ensuring stability and functionality:
1. Plan the Layout
Take the time to carefully plan the layout of your temporary fence. Determine the perimeter of the area you want to enclose and mark the locations for fence posts or stands accordingly.
Consider factors such as terrain, obstacles, and any specific requirements for the temporary fencing. Ensuring even spacing between posts or stands will provide stability and uniformity to the fence.
2. Prepare the Ground
Proper preparation of the ground is essential for a stable temporary fence installation. Clear the area of any debris, rocks, or vegetation that could interfere with the fence or its stability.
If the ground is soft or uneven, you may need to level it using a shovel or other appropriate tools.
Additionally, consider using temporary stabilizers such as sandbags or concrete blocks to anchor the fence posts or stands securely.
3. Install Fence Posts or Stands
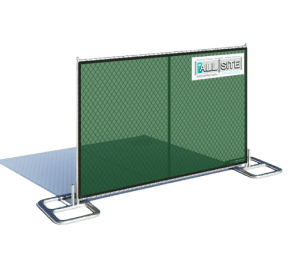
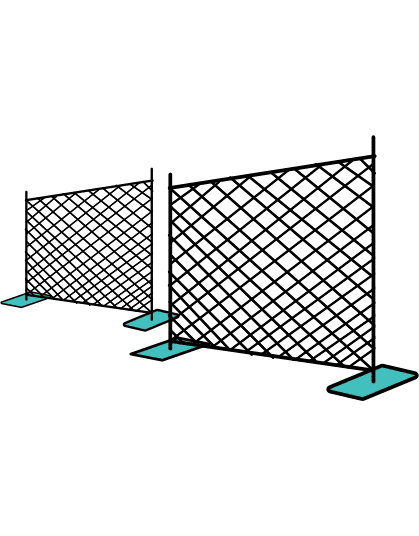
Depending on the type of temporary fence you’re installing, you’ll either use fence posts driven into the ground or stands that sit on the surface.
If using fence posts, drive them into the ground at the marked locations using a hammer or fence post driver. Ensure that the posts are driven deep enough to provide stability, especially in soft or loose soil.
If using stands, simply place them in the desired locations, ensuring they are evenly spaced and aligned.
4. Attach Fence Panels or Rolls
Once the fence posts or stands are in place, it’s time to attach the fencing panels or unroll the fencing material between them.
If using panels, connect them to the posts or stands using zip ties or wire. Ensure that the panels are securely fastened and aligned properly to create a continuous barrier.
If using fencing rolls, unroll the material along the length of the fence line and secure it to the posts or stands using the appropriate fasteners.
5. Stabilize the Fence
Depending on the terrain and environmental conditions, you may need to add additional stabilization to the temporary fence.
Consider using sandbags, concrete blocks, or braces at key points along the fence line to provide extra support and prevent tipping or shifting. Pay special attention to corners and areas with uneven ground, as these are potential weak points in the fence structure.
6. Inspect and Adjust
Once the temporary fence is installed, take the time to inspect it thoroughly for any signs of instability or damage. Check that all fasteners are securely tightened and that the fence panels or rolls are properly aligned.
Make any necessary adjustments or reinforcements to improve the stability and safety of the fence, ensuring that it meets your requirements and local regulations.
Materials and Tools Needed
Now that you have a good understanding of the different types of temporary fences, let’s discuss the materials and tools you’ll need for the installation process. Here’s a comprehensive list:
- Fence panels: These can be chain link, mesh, or pre-made panels, depending on your chosen type of temporary fence.
- Posts: These are used to support the fence panels and keep them upright. The number of posts required will depend on the length of the fence.
- Clamps or zip ties: These are used to secure the fence panels to the posts and ensure stability.
- Post driver or hammer: This tool is essential for driving the posts into the ground.
- Level: A level will help you ensure that the fence is straight and properly aligned.
- Measuring tape: This will assist you in accurately measuring the length and spacing of the fence panels and posts.
Safety Guidelines

Safety should always be a top priority when working on any construction project, including temporary fence installation. Here are some important safety guidelines to keep in mind:
- Wear appropriate personal protective equipment (PPE) such as gloves to protect yourself from potential injuries.
- Be cautious when using tools such as hammers or post drivers. Use proper lifting techniques and avoid overexertion to prevent strains or other physical injuries.
- Ensure that the installation site is clear of any potential hazards or obstacles that could cause accidents.
- If you’re working with a team, communicate effectively and establish clear safety protocols to minimize the risk of accidents.
By adhering to these safety guidelines, you can create a secure and accident-free environment during the temporary fence installation process.
Maintenance and Removal
Once your temporary fence is installed, it’s essential to properly maintain it during its use and safely remove it when it’s no longer needed. Here’s what you need to know:
Regular inspections
Conduct periodic inspections of the temporary fence to identify any signs of damage, wear, or instability. Check for loose panels, posts, or clamps that may compromise the integrity of the fence.
Promptly repair any issues to maintain the security and effectiveness of the enclosure.
Cleaning
Keep the temporary fence clean and free of debris to preserve its appearance and functionality. Remove any accumulated dirt, dust, or vegetation that could obstruct the fence panels or affect their stability.
Regular cleaning not only enhances the aesthetic appeal of the fence but also helps prevent corrosion or deterioration over time.
Safe removal
When the time comes to remove the temporary fence, prioritize safety and efficiency. Carefully detach the fence panels from the posts or stands, taking care to avoid damage to the components.
Disassemble the fence in the reverse order of installation, starting with the panels and working your way to the posts or stands. Store the disassembled components properly for future use, ensuring they are protected from damage and environmental hazards.
Additional Tips and Tricks
To further simplify the temporary fence installation process, here are some additional tips and tricks:
Stakes for stability
In areas prone to strong winds or unstable ground conditions, bolster the stability of your temporary fence by using stakes or additional supports. This extra reinforcement helps prevent the fence from toppling over.
Portable construction fence options
For construction sites requiring flexibility and adaptability, explore portable temporary fence options. These solutions are designed to be easily moved as the project progresses, allowing you to adjust the fencing layout according to evolving site needs without compromising on safety or security.
Frequently Asked Questions
How long does it take to install a temporary fence?
The installation time can vary depending on factors such as the length of the fence, the type of temporary fence you’re installing, and the number of people involved.
However, with proper preparation and the right tools, you can typically install a temporary fence in a few hours.
Can I reuse my temporary fence?
Yes, many temporary fences are designed to be reusable. By correctly disassembling and storing the components, you can reuse the fence for future projects or events.
Do I need a permit to install a temporary fence?
The need for a permit depends on your location and the purpose of the fence. It’s important to research and comply with any legal or regulatory requirements before installing a temporary fence.
Can I install a temporary fence by myself?
While it is possible to install a temporary fence by yourself, having an extra pair of hands can make the process faster and easier. Additionally, certain types of temporary fences, such as chain link fences, may require more effort to install alone.
What is the best option for temporary fencing?
The best option for temporary fencing depends on your specific needs and preferences. Common options include chain link fences, mesh fences, and panel fences.
Chain link fences are durable and offer good visibility, while mesh fences are lightweight and easy to install. Panel fences provide versatility and can be quickly set up and taken down.
Consider factors such as your budget, desired level of security, and the duration of use when choosing the best option for your project.
What can I use to make a temporary fence?
You can use various materials to make a temporary fence, including:
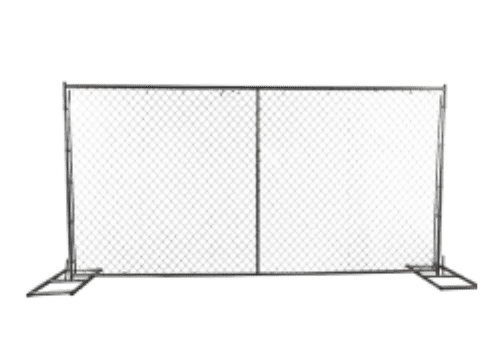
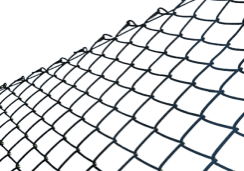
- Chain link fencing: Made of metal wire woven into a diamond pattern, chain link fencing is durable and provides good security.
- Mesh fencing: Mesh fencing is typically made of lightweight materials such as plastic or metal, offering flexibility and ease of installation.
- Panel fencing: Panel fencing consists of interconnected panels made of materials like metal or plastic, providing quick setup and removal.
Depending on your requirements and budget, you can choose the material that best suits your temporary fencing needs.
How does a temporary fence work?
A temporary fence works by creating a physical barrier to control access or provide security to a designated area temporarily. It typically consists of panels, posts, and connectors that are assembled to enclose the desired space.
Temporary fences are designed for quick and easy installation and can be adjusted or relocated as needed. They are commonly used in construction sites, events, and outdoor venues to demarcate boundaries, enhance safety, and manage crowd control.
What is an example of a temporary fence?
An example of a temporary fence is a chain link construction fence commonly used on construction sites. These fences are made of metal wire woven into a diamond pattern and supported by steel posts. They are easy to install and remove, providing security and safety around construction areas.
Another example is a plastic mesh fence often used at outdoor events or festivals for crowd control. These lightweight fences can be quickly installed using stakes or posts and offer a temporary solution for managing large gatherings.
Making Temporary Fence Installation a Breeze
Temporary fence installation doesn’t have to be a daunting task. By following this guide, you now have the knowledge and tools to complete a quick and simple installation.
Remember to gather all the necessary materials and tools and follow the step-by-step installation process. Prioritize safety throughout the process, and properly maintain and remove the fence when it’s no longer needed.
By renting our fences, you can ensure a smooth and efficient temporary fence installation for your next project or event.
